Connecting with colleagues, customers or businesses via video has never been easier. Like sending an email or text, jumping into a video meeting on platforms like Zoom is an everyday occurrence.
It’s important to remember that video is a visual medium, so lighting matters. After all, you want to make sure you look your best and good video lighting can be the difference between you being perceived as professional or amateur. To help you get more likes, more clients and potentially more $$ in the bank, let’s look at how to set up video lighting for online meetings.
Why Good Video Lighting Matters
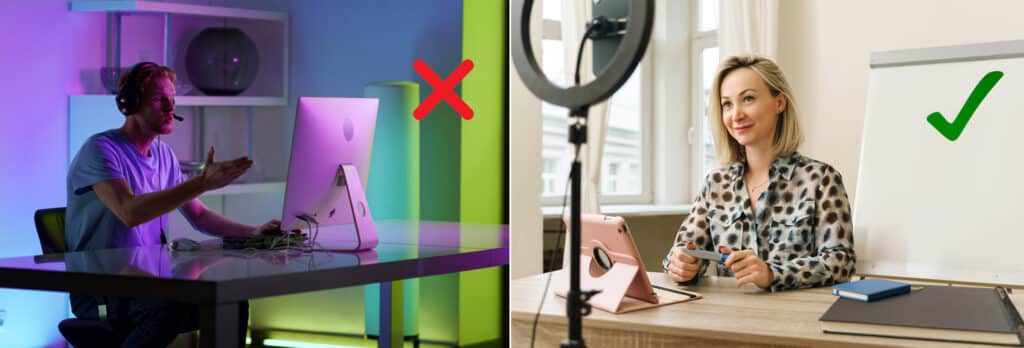
Good video lighting does more than just illuminate, it transforms your video calls into a professional experience. It’s about creating an environment that’s visually appealing and comfortable for all parties. Have you ever had a video call with someone whose lighting is so bad you can’t read their facial expressions? It’s very difficult to know what the other person is feeling and whether they are interested in your conversation.
Remote work environments often present unique lighting challenges – from uneven lighting to distracting shadows to lighting that’s overbright or too dark. Having these issues during a video call can detract from the important messages you’re trying to get across.
From compact setups ideal for mobile phones and home offices, to high-end lighting solutions, there is a wide variety of products to choose from. The range of LED video lights allows you to have precise control over brightness and colour which is perfect for those seeking superior quality in their online video calls.
Quick Tips For Setting Up Your Video Lighting
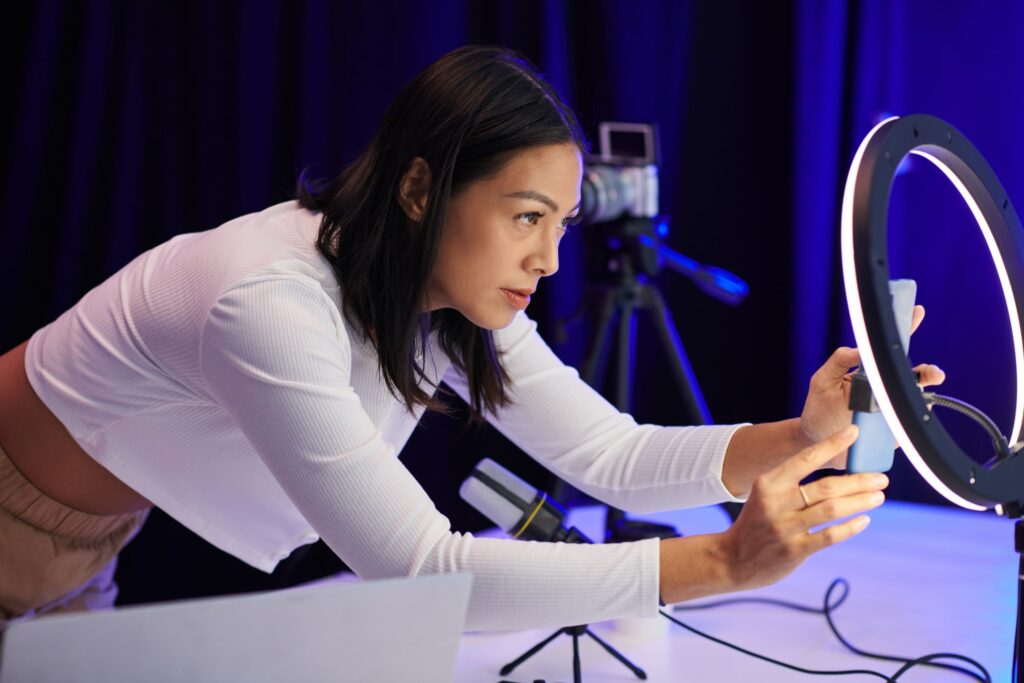
So, you’ve purchased your video lighting, now it’s time to set it up. Naturally, there will always be some trial and error, but here are some quick tips to get you on the right track.
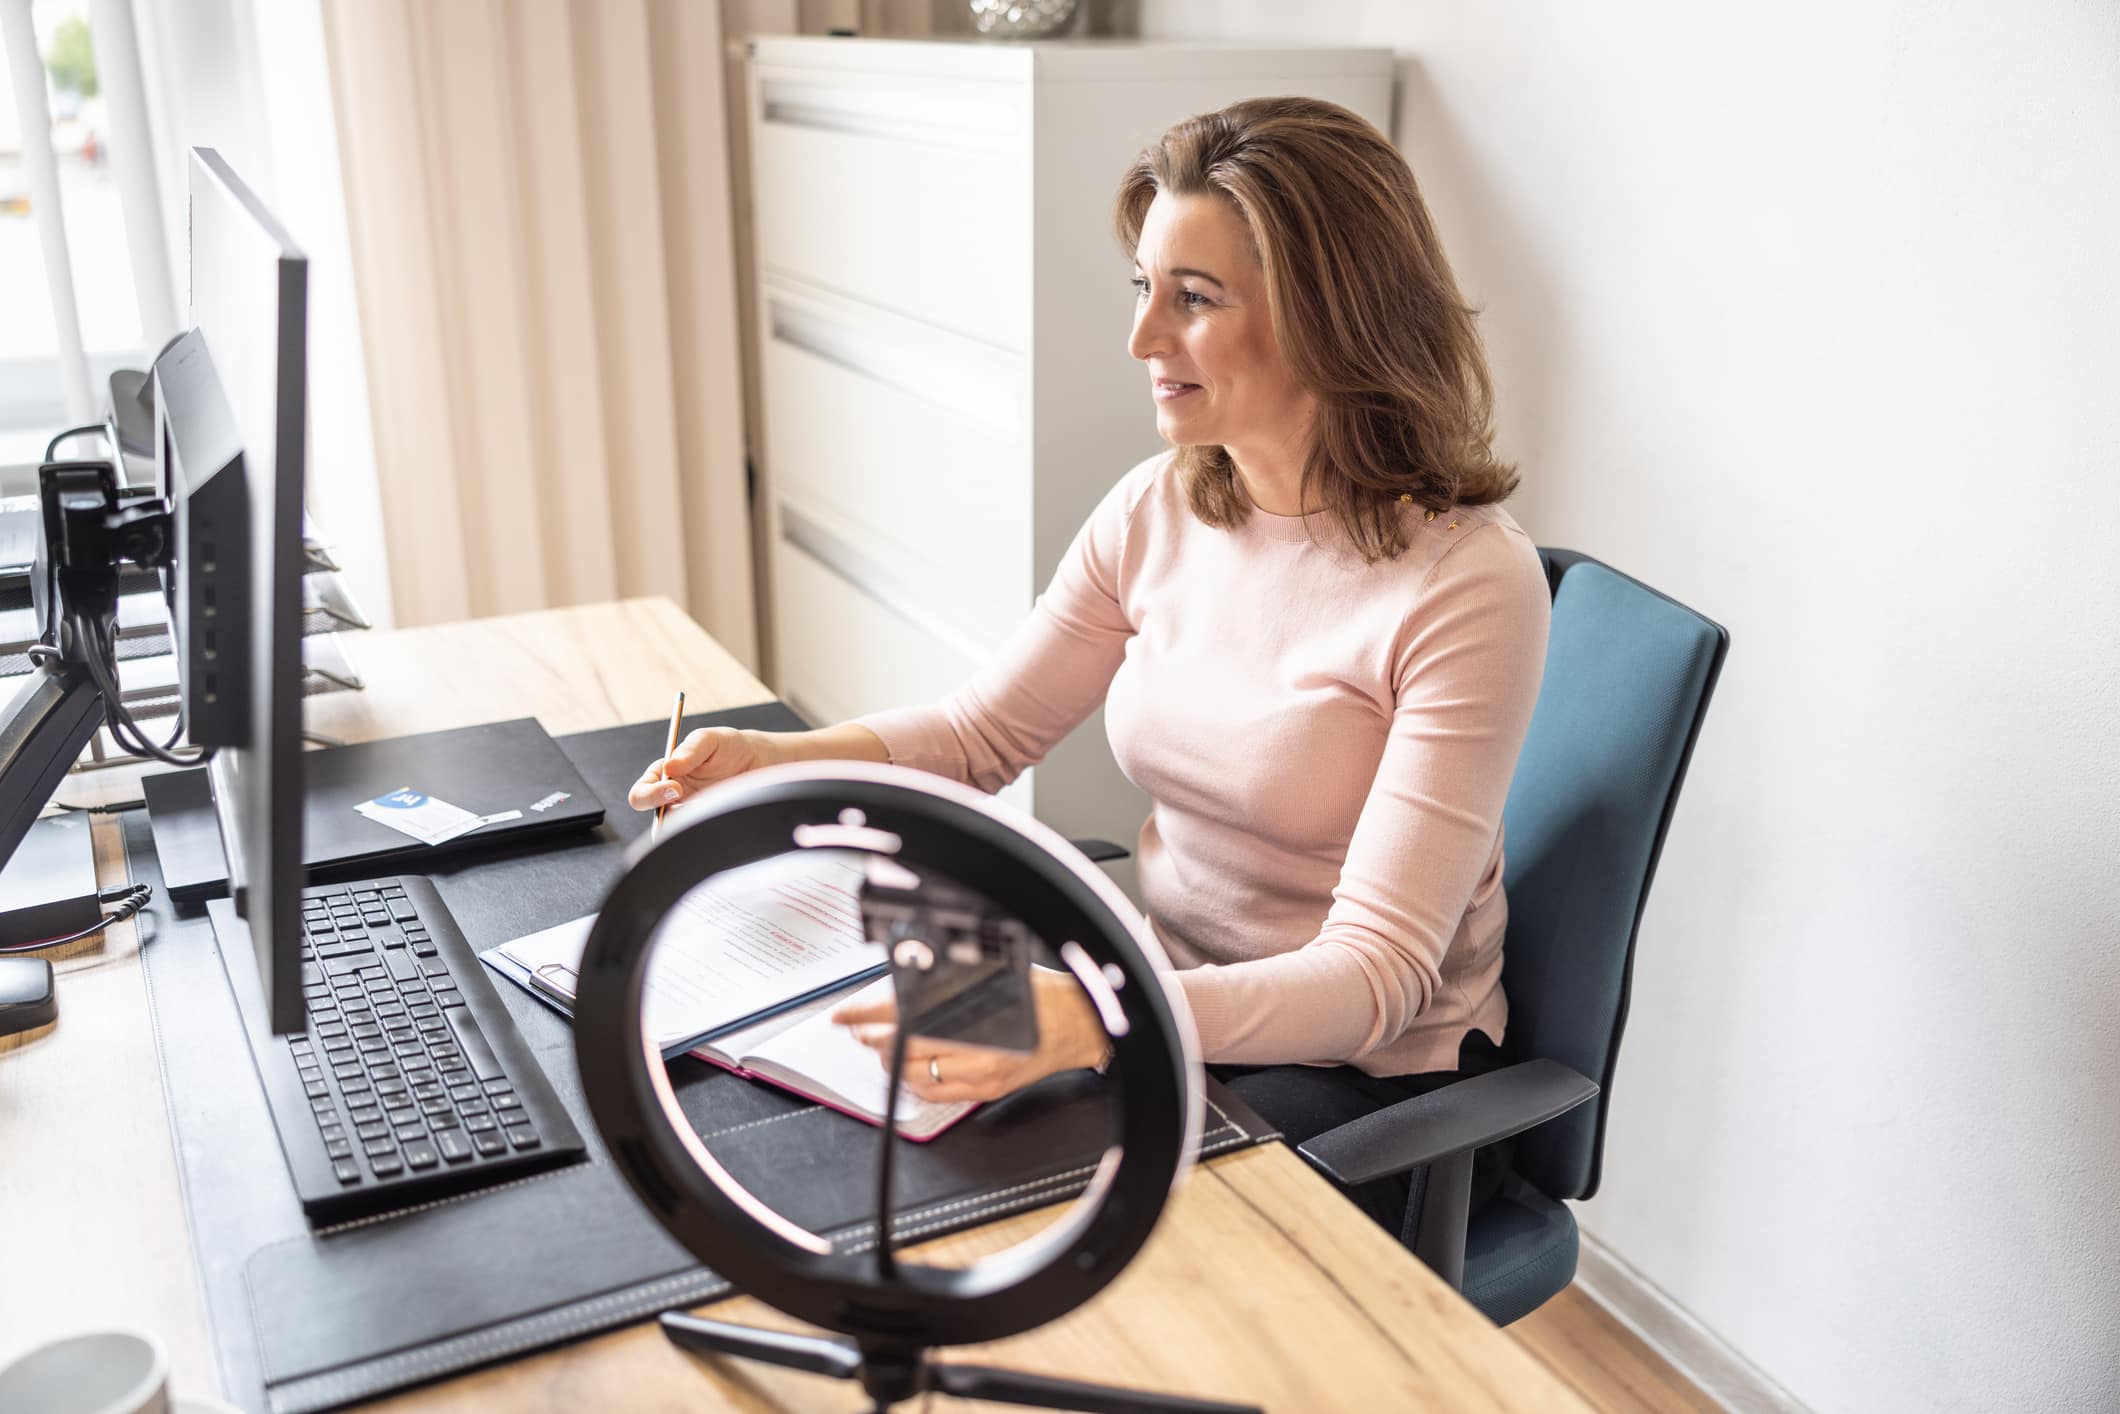
- ✔️ Position: Place your main light (like a ring light) in front of you, slightly above eye level. This ensures your face is well-lit without casting harsh shadows.
- ✔️ Soften the lighting: Soft lighting minimises harsh shadows and creates a flattering look. You can achieve this by using a softbox or diffusing your light source with a translucent material.
- ✔️Control ambient light: Manage the ambient light in your room. Too much ambient light can wash out your video, while too little can make it look dull. Adjust curtains or blinds to find a good balance.
- ✔️Avoid backlighting: Make sure there are no bright light sources behind you. Backlighting can cause you to appear as a silhouette, making it difficult for others to see your facial expressions.
- ✔️Fill shadows with a fill light: Use a secondary, softer light source opposite your main light to fill in shadows, especially under the eyes and chin. This creates a more even and professional look.
- ✔️Adjust colour temperature: A light with adjustable colour temperature will allow you to mimic natural daylight. This keeps skin tones looking natural.
- ✔️Control reflective surfaces: Be aware of reflective surfaces in your room that may cause glare or odd reflections in your background.
- ✔️Three-point lighting: If possible, use the three-point lighting setup, which includes a key light, fill light and backlight. This setup provides depth to your video and professional quality.
- ✔️Adjust camera settings: If your laptop or web camera allows, adjust the exposure and white balance settings to suit your lighting setup, ensuring the video quality is consistent and clear.
- ✔️Test and tweak: Before your meeting, test your setup and tweak the lighting as necessary. This ensures you look your best and that there are no unexpected issues during the meeting.
If you want to elevate your online video calls, contact the team at Leederville Cameras. We have a full range of video lighting solutions that are guaranteed to enhance your online experience.
If you’d like to see the products in person, come and visit us at 201 Oxford Street, Leederville. Our expert team is on hand to help you choose the best video lighting option for you.


