

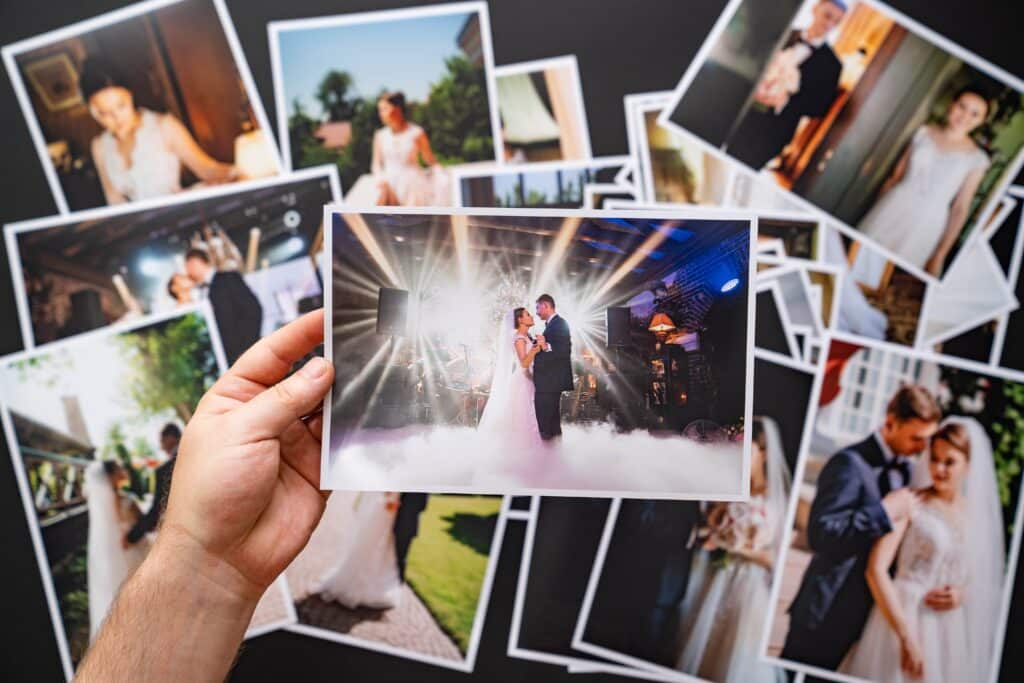
Whether you’re a professional photographer with the latest mirrorless camera or an amateur with a mobile phone, it’s easier than ever to capture crisp and clear images. Unfortunately, most of the photos we take end up lost in a digital hard drive neverland. Instead of storing your pictures on a thumb drive for no one to see, turn your digital images into hard copy prints, photo books or wall art.
Now, to produce high-quality prints you’re going to have to do more than just hit the print button. If you want to produce a mini-masterpiece, here are our top 10 tips for digital photo printing.
1. Choose a reputable digital print shop
Do your research and find a reputable printing provider that offers quality prints, fast turnaround times and good customer service. Whether you want to visit the store in person or print your images online, you want to be sure they have experience in the camera and printing industry.
2. Calibrate your monitor
If you’re scanning through your images using a monitor, make sure the monitor is calibrated before you start any editing. It’s the only way to be sure you’re seeing accurate colours. Calibrating the monitor balances and corrects the colours and ensures that the colours you see on your screen are consistent with the colours that will be printed.
3. Adjust your colour settings

Once you know that the colours you’re seeing are the colours that will be printed, you can start adjusting the colour settings in your photo editing software. Check the brightness, contrast, saturation and colour balance to get the desired result.
4. Don’t over-sharpen your digital photos
Sharpening an image can enhance the details and make it look better on a screen, but it can also create a grainy look when printed. The secret is, don’t over-sharpen your images. Use the sharpening tool sparingly and only on the areas that need it.
5. Cropping your digital photos
It’s rare that we take a perfect picture, so often it’ll need cropping. Remember, if you are cutting out people or part of the landscape, don’t crop too tight around the focal point – be sure to allow some space on each side.
6. Choose the right paper
If you’re printing onto paper, remember not all paper is the same. You can choose from a variety of textures like glossy and matte. Try to choose a style of paper that matches the image. Certain finishes will make colours pop off the page while others will subdue the colours. Above all, select high-quality paper as it will make a big difference to the result.
7. Print high-resolution photos
Printing a low-resolution image can result in a blurry or pixelated print. Make sure your image resolution is at least 300 pixels per inch (PPI) for a high-quality print. You can check the resolution of your image in most photo editing software.
8. Use a high-quality printer
Most people don’t have a high-quality printer at home, so it pays to get your images printed by a professional. Even if it’s just holiday snaps of the family, using a professional print lab will give you a much better product that you’ll be proud to show off.
9. Check the file format and size requirements
Make sure your files meet the service provider’s requirements. Most online printing services accept PDF, JPEG, and TIFF formats, and have size limits for uploads. If you are not sure about the requirements, contact their customer service team for assistance.
10. Double-check your order
Review your order details and the quality of your images before submitting them for printing. It’s important to ensure that everything is correct to avoid any delays or mistakes.
If you want any advice on digital photo printing, digital photo gifts or digital wall art, contact the printing experts at Leederville Print.
Call into 201 Oxford Street, Leederville or print your digital prints online.